CHIP-8 emulator in C
CHIP-8 is one of the most popular target architectures for aspiring emulator writers. I’m planning to implement it in hardware, so I thought that writing a software emulator/interpreter would be enlightening.
I was also looking for some practice before implementing CHIP-8 in hardware in Verilog :)

CHIP-8 Virtual machine description:
- 64x32 pixel monochrome display
- 4K of 8-bit RAM
- 16 8-bit “variable” registers V0-VF
- I 16-bit address register
- Stack of 16-bit addresses for call/return
- 16-bit PC - program counter
- 8-bit delay timer (decremented at 60 Hz) until it reaches 0
- 8-bit sound timer (decremented at 60 Hz), beeps when it reaches 0
- 16- key keypad that sends scan codes 0x1-0xF
Instruction set
See https://en.wikipedia.org/wiki/CHIP-8#Opcode_table
Implementing the emulator
My implementation has two main modules - the CPU core and the GUI module .
I picked SDL
as my application framework, as it can handle cross-platform rendering and input, as opposed to my previous projects that relied on Visual Studio and conio for Windows console apps. I spent the initial hour setting up the SDL skeleton, two buffers (64x32 and 640x320) and the render loop.
Drawing the CHIP-8 screen from its internal 8-bit 64x32 display buffer to the 64x32 32-bit ARGB SDL_Surface is straightforward:
void draw_chip8_screen(SDL_Surface *surface, StateChip8 *state)
{
    SDL_LockSurface(surface);
    uint32_t *pixels = (uint32_t *)surface->pixels;
    for (int i = 0; i < CHIP8_DISPLAY_SIZE; i++)
    {
        pixels[i] = state->display[i] == 0 ? 0 : 0xFFFFFFFF;
    }
    SDL_UnlockSurface(surface);
}
This then gets scaled to 640x320, transferred to a texture, which gets rendered to the application window:
    SDL_BlitScaled(chip8buffer, NULL, argbbuffer, NULL);
    SDL_UpdateTexture(texture, NULL, argbbuffer->pixels, argbbuffer->pitch);
    SDL_RenderClear(renderer);
    SDL_RenderCopy(renderer, texture, NULL, NULL);
    SDL_RenderPresent(renderer);
CPU core itself
The CPU is represented by a structure that mirrors the Virtual machine description section:
typedef struct StateChip8 {
    uint8_t memory[CHIP8_MEMORY_SIZE];
    uint16_t PC;
    uint16_t I;
    uint8_t V[V_REGISTER_COUNT];
    uint16_t stack[STACK_DEPTH];
    uint8_t stack_pointer;
    uint8_t sound_timer;
    uint8_t delay_timer;
    uint8_t display[CHIP8_DISPLAY_SIZE];
    int draw_flag;
    uint8_t keys[CHIP8_KEY_COUNT];
} StateChip8;
Startup
A font gets loaded to the address 0x000, ROM gets loaded to the address 0x200, PC gets set to 0x200 and we execute instruction by instruction.
Fetch/decode/execute loop
On every clock cycle we fetch two bytes from the memory, increment the PC and determine the opcode in a giant switch statement with cases such as:
    case 0x6000:
        //set register X to NN (6XNN)
        state->V[vx] = opcode & 0x00FF;
        break;
    ...
    case 0x9000:
    //skips next instruction if VX doesn't equal VY.
    if (state->V[vx] != state->V[vy])
        state->PC += 2;
    break;
It made sense to pre-compute vx and vy arguments as they get used often.
This time I inlined all of the logic, as it’s pretty concise, with the exception of the drawing (0xDxxx) opcode, which spans around 20 lines of code.
Handling input
Input state is stored in the keys array: uint8_t keys[CHIP8_KEY_COUNT];, which gets updated on SDL_KEYDOWN / SDL_KEYUP events with a simple mapping of keycodes such as SDLK_q to CHIP-8 keycode 4.
Timing
Internet says that the standard execution speed is around 540 instructions per second, decrementing the timers every 9th tick, is suitable for most CHIP-8 games. I took a lazy way out and (attempt to) sleep for 1850 milliseconds after each opcode is executed, so on a fast computer we should get pretty close to 540 Hz.
Testing the opcodes
This time I didn’t prepare my own test harness.
I followed tobiasvl’s Guide to making a CHIP-8 emulator , debugged a couple of the initial opcodes by hand and then started using several useful test ROMs, such as chip8-test-rom for the most cases.
Cascading failures
I got bit by operator precedence in C, messed up my conditional jump instructions, which lead to the test ROMs reporting failures at other places, as they were relying on the broken (and fundamental) conditional jump logic.
   // wrong!
   if (state->V[vx] == opcode & 0x00FF)
   ...
   //should be:
   if (state->V[vx] == (opcode & 0x00FF))
   ...
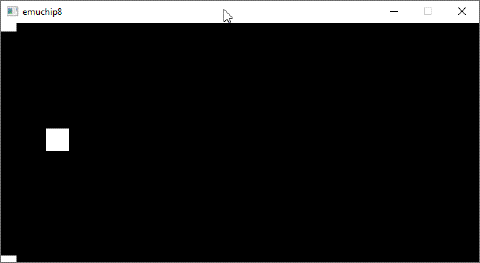
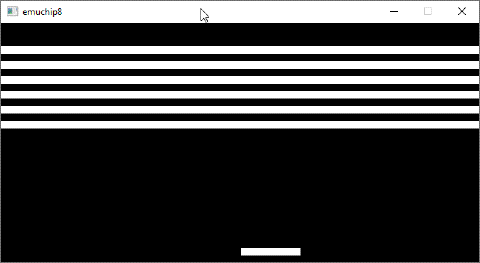
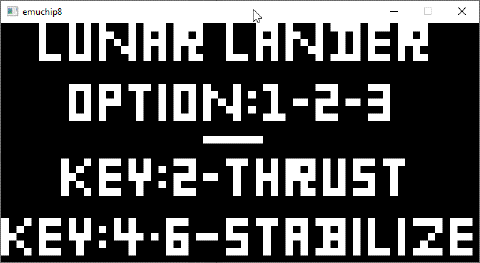
More GIF in action
I used ROMs from several other CHIP-8 emulators, for instance: https://github.com/loktar00/chip8/tree/master/roms .

Breakout game

Lunar Lander game
The code
Build instructions: make on Linux, build with Visual Studio 2019 on Windows